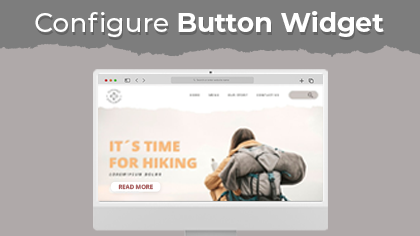
Button widget lets you place the button in that page. You can also keep the custom labels and redirections as per the requirements. Here is how you can do it.
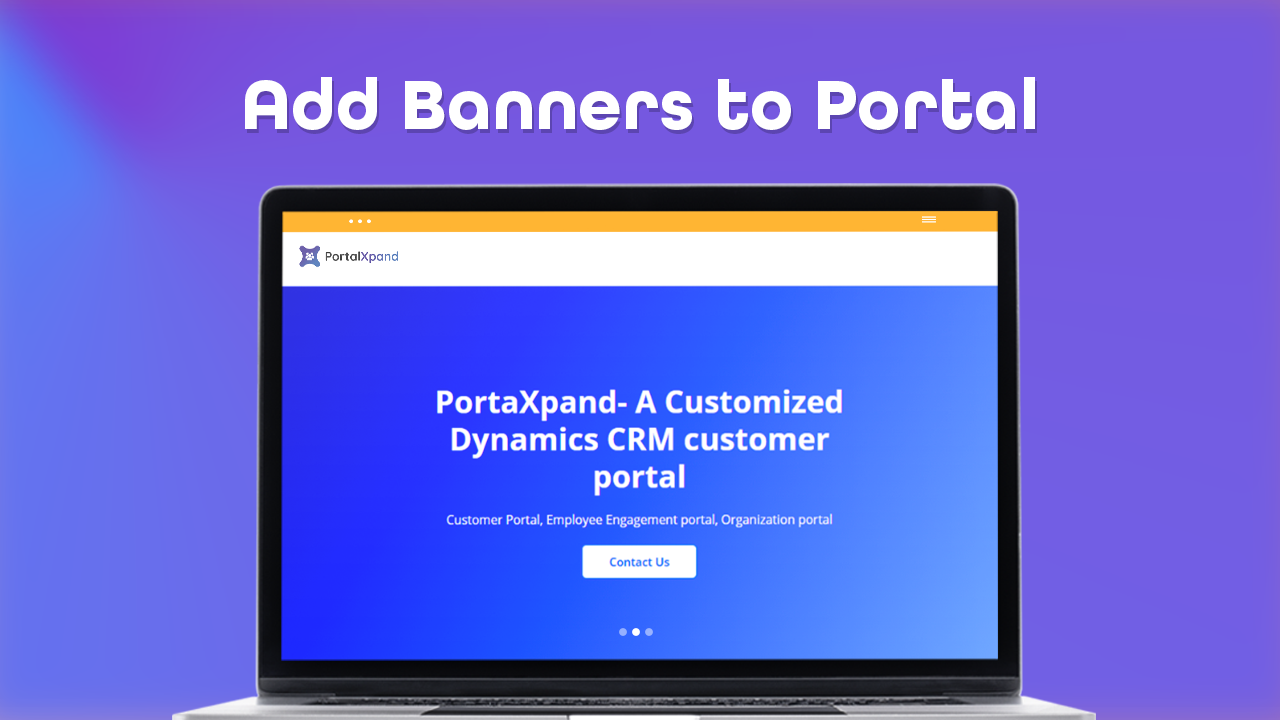
Admin users can create the page banner as per their organization’s theme to display on the customer portal using the Banner widget. Here is how you can configure the banner widget in the page
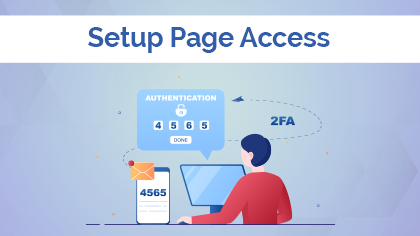
If you want to show the page before login and after login on both sides, you need to select the Public checkbox. But, if you want to show the page after the portal users log in, you need to select Authenticated option.
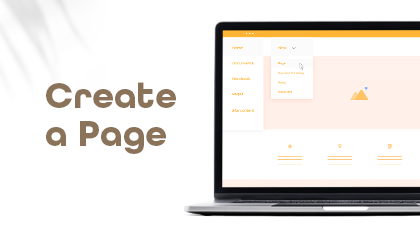
In this video, you will learn how to create new page for the portal. You can also create the new page with the help of pre-defined templates. Watch out this video.

Templates are very easy to create and apply. It saves you a lot of energy and you don't need to be tech savvy in order to apply the templates. Here is how you can apply the created templates.
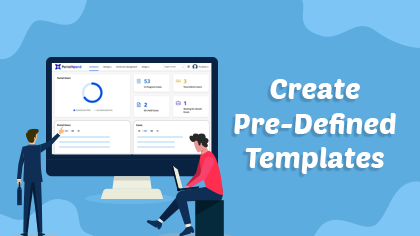
With the help of pre-defined templates you don't have to create the website from scratch by coding. It will save your time and money as well to create the layout from scratch.
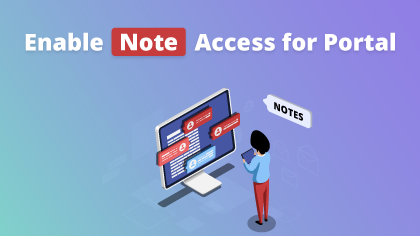
Notes widget will let you offer chat view support to your customers. With this, your portal users can initiate a chat with you in case of support. Here is how you can enable chat support in your portal
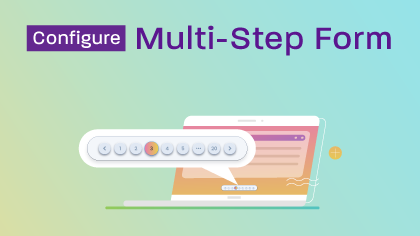
You can display the Form content of any Entity step by step in the customer portal. You will get the “Enable Multi-Step From” option in the Form configuration. The portal users will get the Form with Multi-Step as per the configuration.
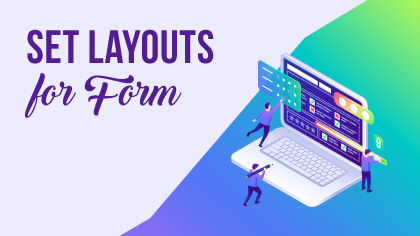
You can design the portal layouts for the different entities to display into the customer portal. You can design & configure the layouts for Pages, Templates, Forms, Lists, and Menus. In this video you will learn how to set the layouts for Form.
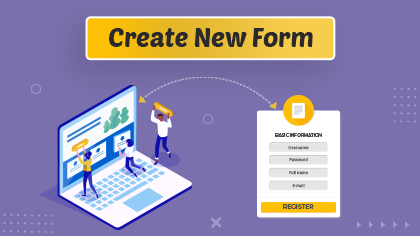
You can create a Form for any other entity. By clicking on the + Create button, a popup will appear where you need to insert the ‘Title’ of the Form. Click on the Next button to design the layout.
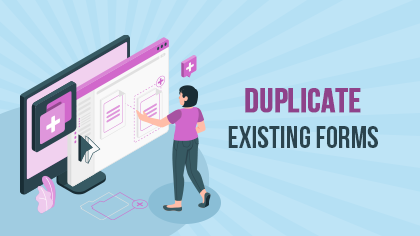
You will get all the created ‘Form’ records on the Form page. Among those, you can easily duplicate the existing list as per the requirement. Watch out for the video to know more.
From the listing page of the ‘Form’ builder layouts, all the available languages will appear in the ‘Language’ column. Once you translate the form layout record from the listing page or the list layout edit page, it will take a few seconds to translate all the CRM content.
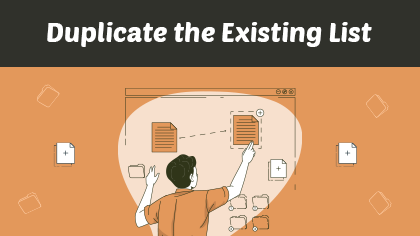
You will get all the created ‘List’ records on the Listing page. Among those, you can easily duplicate the existing list as per the requirement. Watch out for the video to know more.
From the listing page of the ‘List’ builder records, all the available languages will appear in the Language column. Once you translate the list layout record from the listing page or the Page layout edit page, it will take a few seconds to translate all the CRM content.
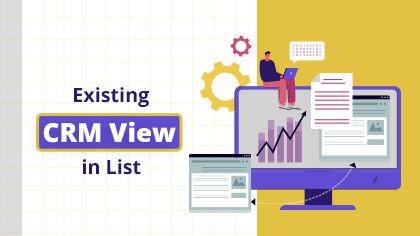
You can also get the ready-made ‘List view’ layout that is configured from the CRM. By selecting the Use Existing option, you will get all the ready List layouts (CRM Entity views). Here is how you can use the existing CRM View in the list.
You can design and configure the listing view for the different entities. You can create, edit, review, and publish lists that will be used in page builders. Watch to know how.
Enabling two-factor verification is necessary in the world where data hacking is increasing every day. This will secure your portal from such activities. Watch the video to know how you can enable two-factor verification in CRMJetty Portal.
You can allow the portal users or new portal users to log in or register through Microsoft ID. Just insert the Microsoft Client ID and Microsoft secret key by watching the video.
You can allow the portal users or new portal users to log in or register through social media platforms like Facebook. Just insert the App ID and App secret key by watching the video.
You can allow the portal users or new portal users to log in or register through Google ID (Gmail). Just insert the client ID and secret key by watching the video.
Security cannot be compromised in the world where hackers are growing rapidly, reCaptcha feature is a must for securing your portal from data. Here is how you can enable it in CRMJetty Portal
Once you successfully authenticate the CRM, you can enable the CRM entities from the Entity Configuration.Watch the video to know how easily you can sync created entites and every update on it in the Portal.
You can create a role for sub admin user and give them limited access to the data to secure the information. Watch the video to know how you can do this.
You can give limited rights to desired people with CRMJetty Portal. This will ensure security to the data. Watch to know more details.
With CRMJetty Portal, you can choose who you want to give rights to access the data and who you want to restrct from viewing the data. Watch to know the details.
Creating workflow can be a tricky process but not with CRMJetty Portal. You can create a workflow to load specific type of data in portal listing and streamline your business. Watch to know how.
Offer convinience to your customers by giving them different payment options including Stripe gateway. Watch how to enable this secure payment option.
Enable secure and easy way of payment for your customers by enabling PayPal payment gateway. Watch to know how you can do it.
There are numerous sites that you might be having portal for and all of these can belong to different industries. So, CRMJetty Portal has found a middle ground for you. You can create multiple sites in CRMJetty Portal to access all the sites' data from one portal.
With CRMJetty Portal, admin can change the theme of their portal to engage more customers, display business goals more precisely, and make the portal look attractive.
SMTP needs basic information and it does a lot of work for you. You can configure SMTP settings for the portal seamlessly with the steps shown in this video.
Adding language translations can be tricky but not with CRMJetty Portal. You can choose from the variety of languages provided with the portal or customize it and add your favorable languages to the portal. Watch the video to know how can you manually.

Google Translate is one of the most accurate language translators. It is reliable and can be easily configured in yur portal. Watch the video to know how.
Syncing CRM data to portal is the most challenging part but not with CRMJetty Portal. With the shown steps, you can sync entity/object layout in a hassle-free way from CRM to Portal.
Creating user form is an important task as you cannot miss out on any details. With CRMJetty Portal, you can create customized user form for admin and include all the user form details you need. Watch the video to know how you can do it.
CRMJetty Portal lets you configure the CRM authentication options by connecting Live or Sandbox CRM. You can set the authentication type for different environments. Watch this video to learn how to configure it.
Go to the design module, form builder, select the form, and add the code in the code editor. Adding JavaScript code to the form in the CRMJetty Portal is that easy. Watch this video to get a better idea of it.
Sometimes you may have multiple values for a field but would like to show only a few. For example, a Case field may have values like case number, status, priority, case details, case owner, and more. You decide to show case number and status to the user, you can do so by selecting only those values. This video explains how to manage the values and enable the ones to be shown.
Multi-select options become important when you need precise information or want to provide users with multiple choices. Keeping this in mind, CRMJetty Portal provides a multi select picklist option. You can configure any field to multi-select and add values to it. You can limit the maximum number of selections to 2, 3, 4 or more. Check out this video to learn how to manage multi-select picklist settings.

CRMJetty Portal allows you to add sub-grids to the forms by dragging and dropping the pre-defined sub-grid layout to the body. Watch this video to learn how to add sub-grids to the forms.
You can easily interlinks the forms with CRMJetty Portal. For example, if a user clicks on the Contact Us page, they should be redirected to the contact us detail form. Watch this video to learn how to set up parent child form interlinking in CRMJetty Portal.
OTPs are important for accessing confidential data or transferring money. CRMJetty Portal not only allows you to generate OTPs, you can even configure the OTP settings like the message you want to display when the wrong OTP is inserted or the timer. Watch this video to learn how to manage OTP for portal users.
Along with the pre-defined customization options like colors, fonts, and styles, CRMJetty Portal allows CSS customization by adding CSS code. Check out this video to learn how to customize CSS files.

Portal users can delete unnecessary records by selecting the bulk records and hitting the delete button. Watch this video to learn how to delete bulk records.

CRMJetty Portal lets portal users view and export the entity records in a CSV file. They can export the entire list or selected records as per their requirements. This video explains how to export multiple records. Watch it to learn more.
With our CRMJetty Portal Dynamics 365 portal, you can add panels to your existing pages or forms. For example, an Additional Details section on a Case Page. Watch this video to learn how to do that.
Along with mass generated credentials, CRMJetty Portal allows you to generate credentials for a particular contact too. You can generate one for a new contact or an existing one. Follow the steps in the video to learn how to do so.
While looking for portals, the first thing to notice is the level of security it offers. What kind of security features does it offer? Does the portal provide two-factor authentication and role-based access or not? CRMJetty Portal provides both the features and this video explains how you can enable two-factor authentication.
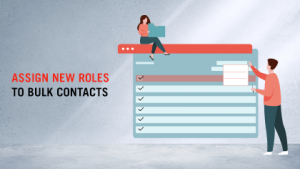
It’s tedious to change the existing roles of each user individually. Hence, CRMJetty Portal allows you to assign new roles to bulk contacts in one go. This video explains it all.
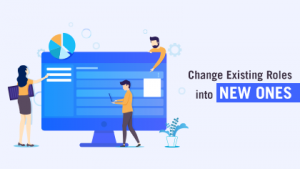
What would you do if your regular customer becomes a premium member? Along with titles, you will have to change their existing roles in the portal. Here’s how you can change the existing roles with new ones in CRMJetty Portal Dynamics CRM portal.
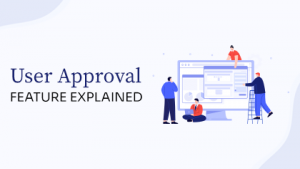
It’s essential to ensure that only the relevant users get the access to the portal. Hence, CRMJetty Portal provides a user approval feature. Whenever a new user registers, the admin will receive an approval request. Only the approved users will be able to access the portal. This feature helps you secure the portal from fake accounts. Watch this video to learn how to manage admin approval settings with Dynamics 365 portal.
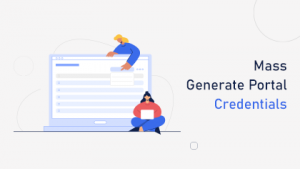
While setting up the portal, you may have a bulk of existing users in your CRM. So, to help you streamline the process, CRMJetty Portal provides you with a mass generate portal credentials feature. With a single click, you can generate credentials for all the CRM users and send them via email. Watch this video to learn how to create mass credentials.
When it comes to emails, our Dynamics portal lets you pre-design email templates for specific purposes. A template when a new user registers, a separate email template for forgotten password. So, whenever any such activity is triggered, email will be sent in that specific format. This video explains how to create email templates with CRMJetty Portal.
Our CRMJetty Portal Dynamics 365 portal allows you to manage multiple admins based on their roles. For instance, you can create sub-admin users assigning them managerial access. Watch this video to learn how to create a sub-admin with CRMJetty Portal.
When it comes to listing the fields in a form or a page, every business has unique requirements. For some, details like customer name can be more important than the status of the case. In that case, the customer name field will show up before the status field. This way, you can configure your list and shuffle the fields according to the priority. Watch this video to learn how to do that.
Do you know how to manage documents using SharePoint with Dynamics 365 portal? The process can be tricky and time consuming, if you don’t know where the documents are. Hence, watch this video to learn how to manage documents using SharePoint with CRMJetty Portal.
For document management, Dynamics 365 allows SharePoint integration. Here’s how you can configure SharePoint with CRMJetty Portal Dynamics 365 portal.
With CRMJetty Portal, you can configure different forms by using the pre-existing entity layouts or creating a new one. For example, if you want to create a form for adding a new article, you can design the layout by dragging and dropping the components in the pagebuilder. This video explains it all in detail. Watch it to learn more.
Our CRMJetty Portal Dynamics portal allows you and your portal users to create and manage cases in the easiest way possible. Users can edit their existing cases, view the case status, and delete it. Admin/Support team on the contrary, can view, provide solutions by interlinking it to a specific article or explaining it in the description box. All the cases from the portal records auto sync in the case records of Dynamics CRM. Watch this video to learn how to manage cases in CRMJetty Portal.

Some businesses like listing the articles in a grid view, others prefer a list view. You may have your own design choice for portal knowledge base. Hence, CRMJetty Portal provides you with multiple options to set your knowledge base using page builder. You can select the templates, widgets, and present the content your way. Watch this video to learn more.
You may have different departments and accordingly the roles may differ for portal users. Hence, our CRMJetty Portal helps you define different user roles, which, once assigned, allows users to access relevant information. Watch this video to learn how to define user roles and organize your business processes.
Create a custom dashboard using the predefined templates and multiple widgets with simple drag and drop. You can even save the designed layout for future use. From customer specific entities to case related information, you can create a dashboard for any kind of information that you want to view at one place. Also, it’s easy to make changes to the designed template. Here’s how to set up a dashboard.
Add user roles, define access rules with CRMJetty Portal Dynamics 365 customer portal. You can create different contacts and manage them by giving role-based access to different users, ensuring data security. Follow the steps in the video to do it properly.
CRMJetty Portal makes it easy to manage the entities between your CRM and portal. To set up, log in to the portal with admin credentials. Move to Portal User Management and configure the entities. You can enable/disable the entities for the portal with a simple drag and drop option. Watch this video to see how it’s done.
Our CRMJetty Portal portal provides you with a secure log-in option to view and manage all your customer-related details in one place. You can view all the details such as active users, total users, invoices, customer incidents, cases, and more on the dashboard. The portal allows you to configure profile details, including CRM authentication, Email setting, and user settings. With CRMJetty Portal, you can even customize the frontend view of the portal. Watch this video to learn more about CRMJetty Portal.


