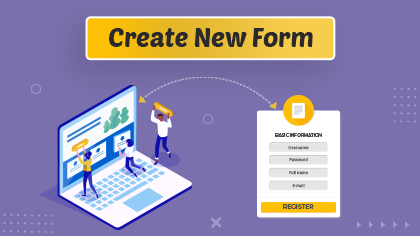
You can create a Form for any other entity. By clicking on the + Create button, a popup will appear where you need to insert the ‘Title’ of the Form. Click on the Next button to design the layout.
You will get all the created ‘Form’ records on the Form page. Among those, you can easily duplicate the existing list as per the requirement. Watch out for the video to know more.
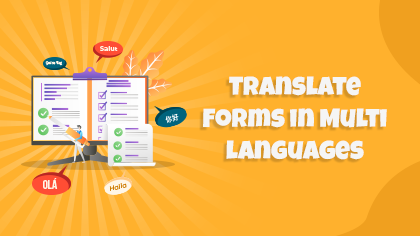
From the listing page of the ‘Form’ builder layouts, all the available languages will appear in the ‘Language’ column. Once you translate the form layout record from the listing page or the list layout edit page, it will take a few seconds to translate all the CRM content.
You will get all the created ‘List’ records on the Listing page. Among those, you can easily duplicate the existing list as per the requirement. Watch out for the video to know more.
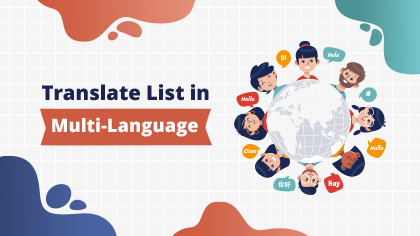
From the listing page of the ‘List’ builder records, all the available languages will appear in the Language column. Once you translate the list layout record from the listing page or the Page layout edit page, it will take a few seconds to translate all the CRM content.
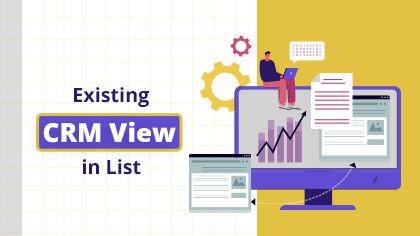
You can also get the ready-made ‘List view’ layout that is configured from the CRM. By selecting the Use Existing option, you will get all the ready List layouts (CRM Entity views). Here is how you can use the existing CRM View in the list.

You can design and configure the listing view for the different entities. You can create, edit, review, and publish lists that will be used in page builders. Watch to know how.

Enabling two-factor verification is necessary in the world where data hacking is increasing every day. This will secure your portal from such activities. Watch the video to know how you can enable two-factor verification in CRMJetty Portal.
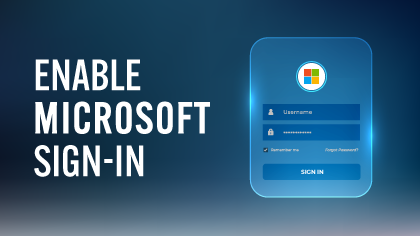
You can allow the portal users or new portal users to log in or register through Microsoft ID. Just insert the Microsoft Client ID and Microsoft secret key by watching the video.