


You can make any field as Required if any field is mandatory from the portal side. The portal users will get it as a mandatory field. And you can make any field as Read Only if you want to provide a field that should not be editable for the portal user but just want to display there. So to make any field as Required or Read Only, follow the below steps.
Under the ‘Portal Layout Settings’ you will find Field Management Settings to customize and validate the object’s fields for the customer portal. You can edit the field’s label, placeholder and validate the values.
For Salesforce Classic
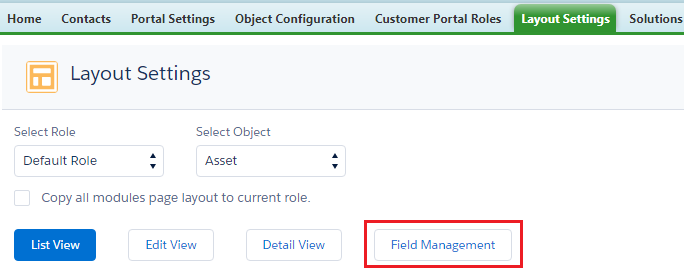
By clicking on Field Management, you can manage the fields of the selected object.
Here you will get two submenus under ‘Field Management Settings’: General Management & Advance Management.
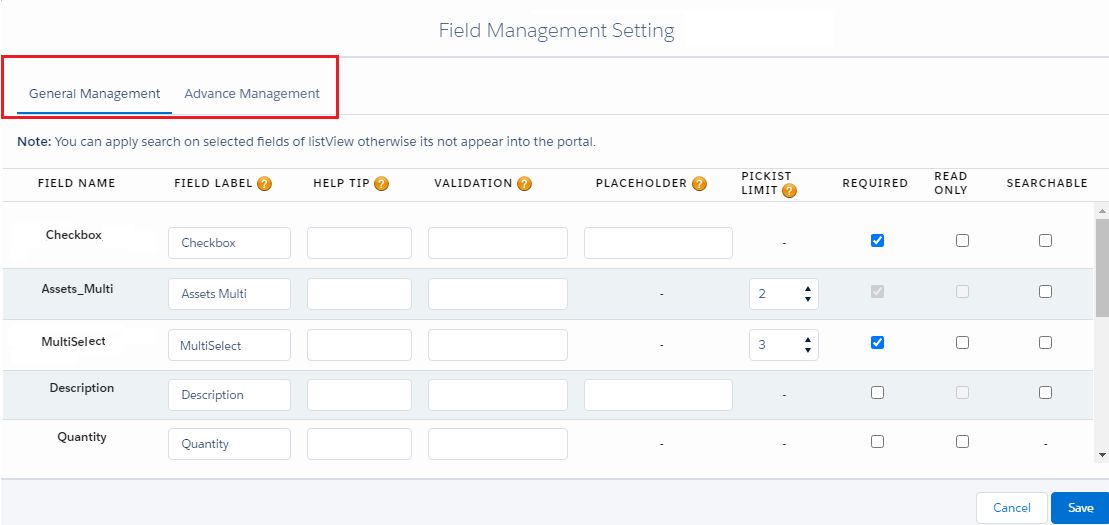
In the General Management option you can see various options like: Field name, Field Label, Help Tip, Validation Message, Placeholder, Picklist Selection, Required, Read Only, Searchable. So fill the necessary details and tick Read Only and Required to make the field as Read Only and Required respectively.
For Salesforce Lightning

By clicking on Field Management, you can manage the fields of the selected object.
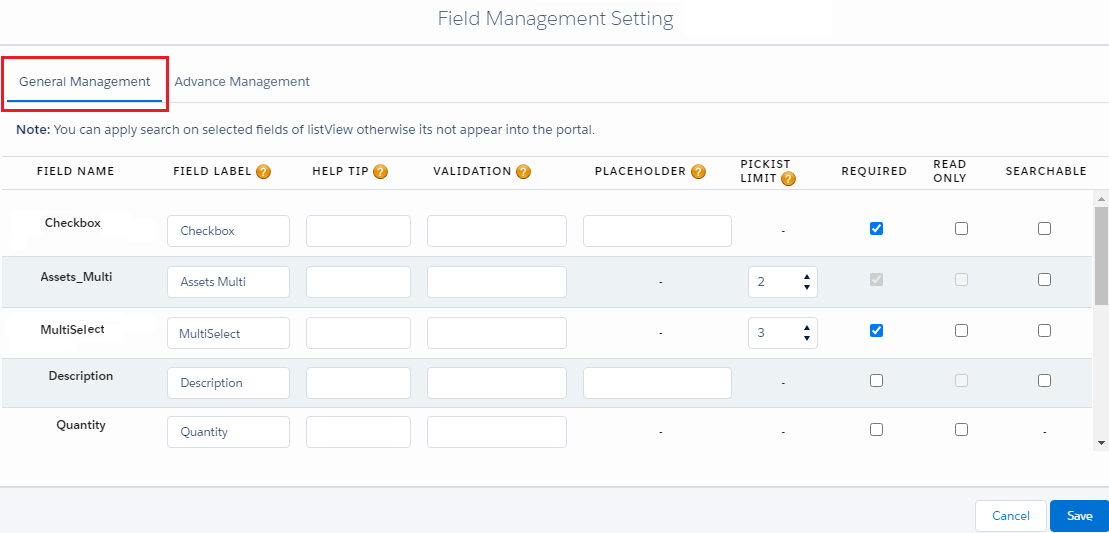
Here you will get two submenus under ‘Field Management Settings’: General Management & Advance Management.

In the General Management option you can see various options like: Field name, Field Label, Help Tip, Validation Message, Placeholder, Picklist Selection, Required, Read Only, Searchable. So fill the necessary details and tick Read Only and Required to make the field as Read Only and Required respectively.
