


Help tip field will let you give a short instructive message to the users of the portal. To add a help tip for a specific field into the portal, follow the below steps.
For Salesforce Classic
- Click on the ‘All Tabs’ icon and you will be redirected to the All Tabs screen. Now click on ‘Layout Settings’.
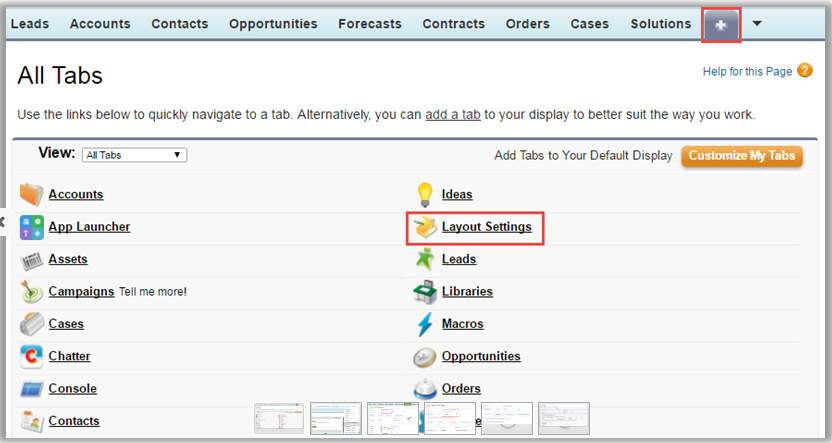
- By clicking on the ‘Layout Settings’ link you will be redirected to the Layout Settings screen.
OR
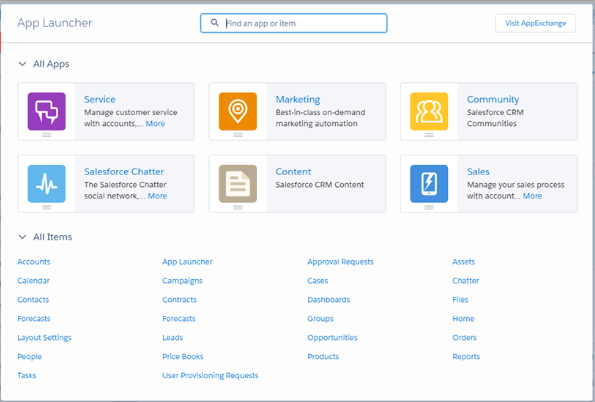
- Click on the ‘App Menu’ icon and the App Menu screen will open.
- Select the ‘SalesPort app’ from the app menu.

- You can select the desired role and module from the ‘Select Roles’ and ‘Select-Object’ dropdown list. You can set the portal layout of the objects as per user role selection.
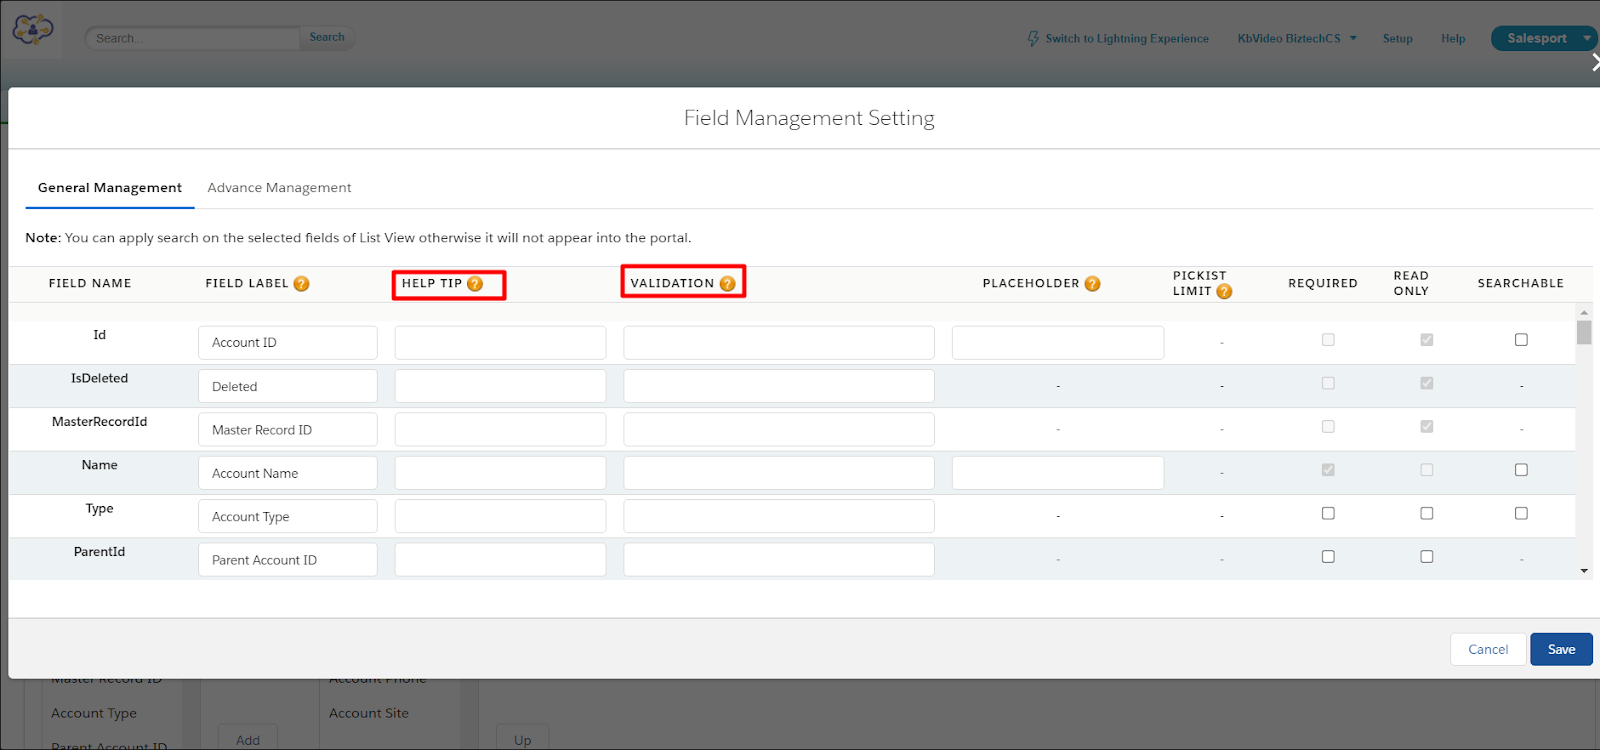
- Now go to the ‘Field Management’ tab, you can see all the fields of the object. You can add the Custom Validation Message and help tip for any specific field you want.

After configuring all the details press the ‘Save’ button to save the configurations. Also sync the same with your WordPress backend.
For Salesforce Lightning
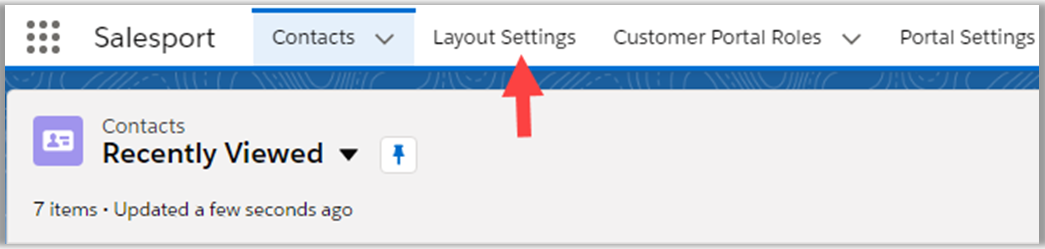
- For layout settings, to add a help tip, click on the ‘App Launcher’ icon, and the App Launcher screen will pop up.
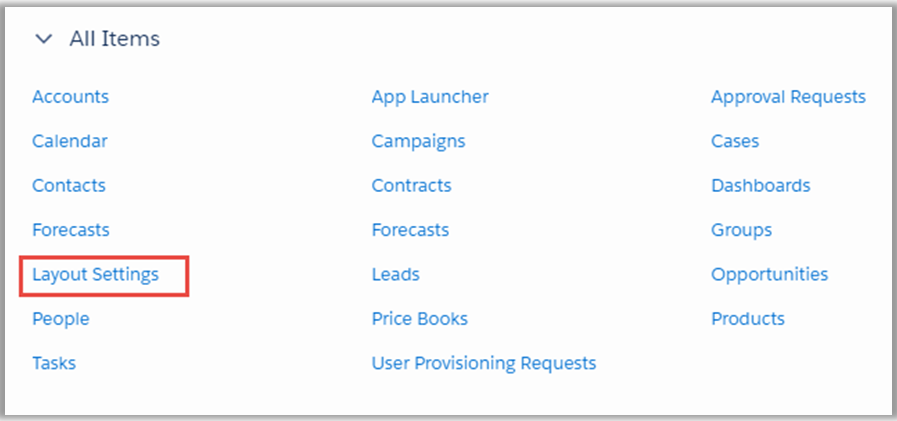
- Now click on ‘Layout Settings’ under ‘All Items’.
- By clicking on the ‘Layout Settings’ link you will be redirected to the Layout Settings screen.
- Click on the ‘App Launcher’ icon and search for Salesport. You will be navigated to the Salesport dashboard.
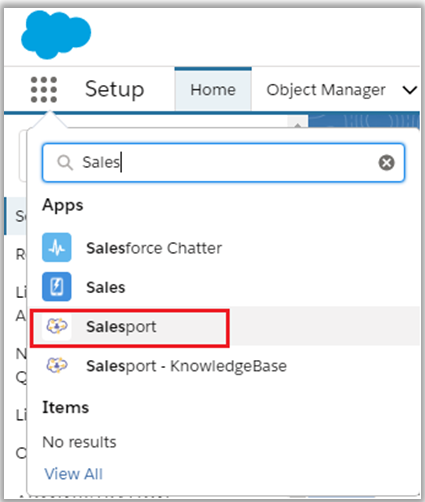
- Now, by clicking on the ‘Layout Settings’, you will be navigated to the Layout Settings page. From here you can set the portal layout of the objects as per user role selection.
- You can select the desired role and module from ‘Select Roles’ and ‘Select Modules’ dropdown list and set the layout for the selected module.
- Now click on the ‘Field Management’ tab, you can see all the fields of the object. Here you can add the Custom Validation Message for any specific field you want.
After configuring all the details press the ‘Save’ button to save the configurations. Also sync the same with your WordPress backend.