Yes, if you Edit/Delete any contact from the portal side it will get synced from the CRM side as well.
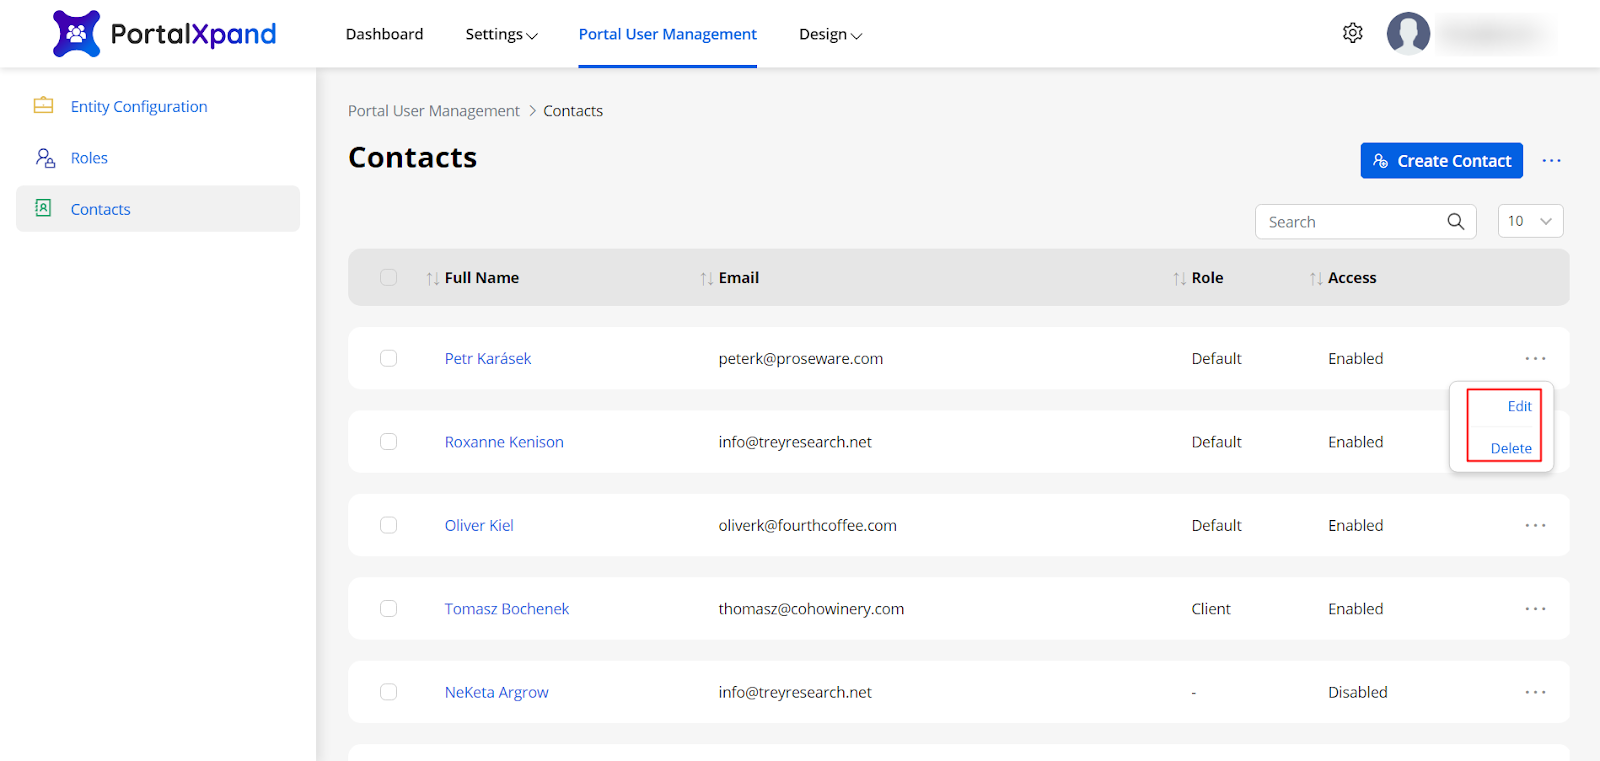
Not only edit or delete, if you add any contact it will sync with the CRM. Here is the procedure to Add Contacts, Approve them and Generate their Credentials:
- To check the portal users, navigate to the Portal User Management ➤ Contacts. Here you will get the list of the Dynamics 365 contacts that you can manage from here and sync with Dynamics CRM.
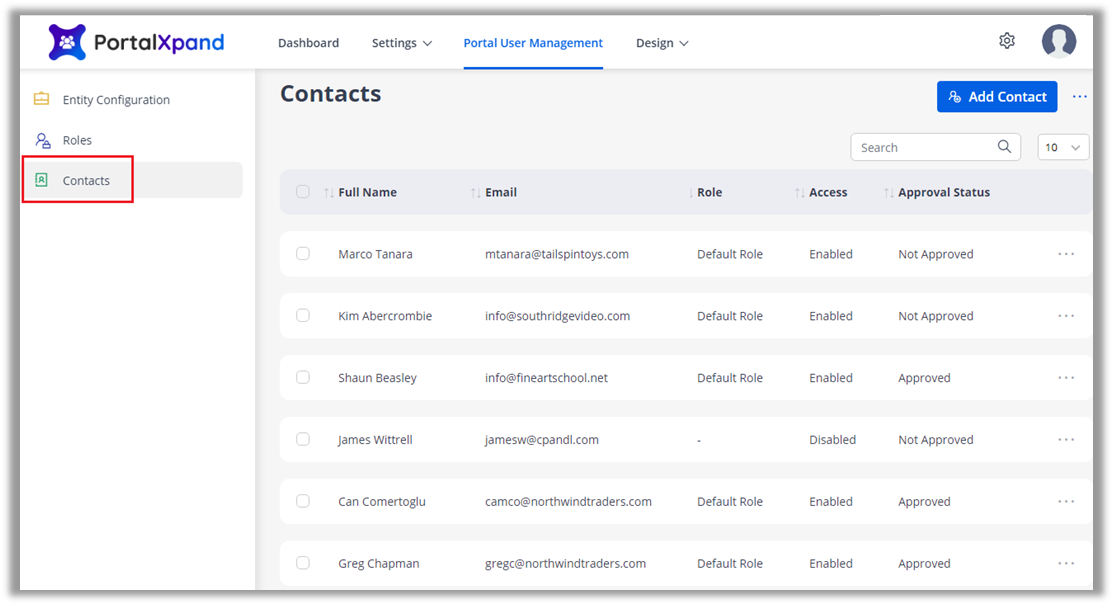
Note: Here you will get the list layout only if you have created the user forms in the Portal User Settings.
- Once the contacts are added, you can generate the portal credentials and approve the users for the CRM contacts in bulk. Convert these contacts to portal users just with a single click.
Add Contact
- You can create a new contact by clicking on the “Add Contact” button. Inserting the contact details and saving it will create a new contact here as well as in CRM.
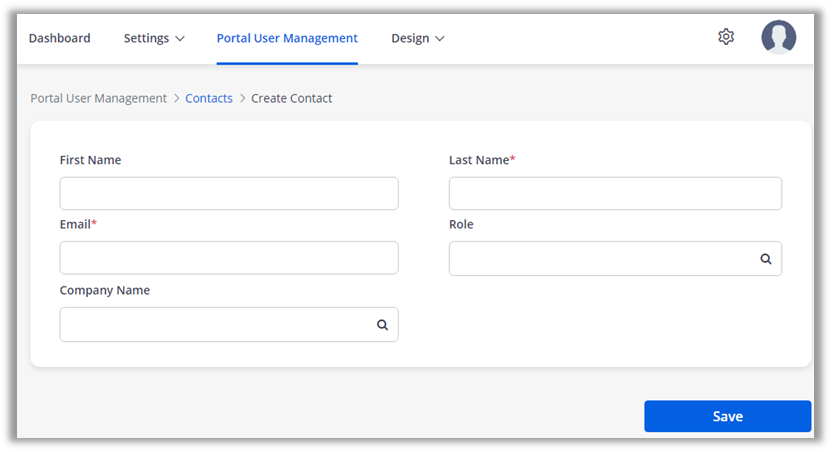
First Name: Enter the first name of the contact.
Last Name: Enter the last name of the contact.
Email: Enter the Email of the contact.
Role: Select the role of the contact.
Company Name: Enter the company name of the contact.
After adding the details click on the “Save” button to save it in your Portal.
Note: Only those admin users can add the Contacts who have access to add Contacts.
- Once the contacts are added, you can generate the portal credentials and approve the users for the CRM contacts in bulk. Convert these contacts to portal users just with a single click.
Approve Users
- If any new customers register from the Portal and the ‘User approval’ flow is enabled from the “Registration” widget for the Registration page, the admin will approve the portal user. After that, the registered customer can access the Portal.
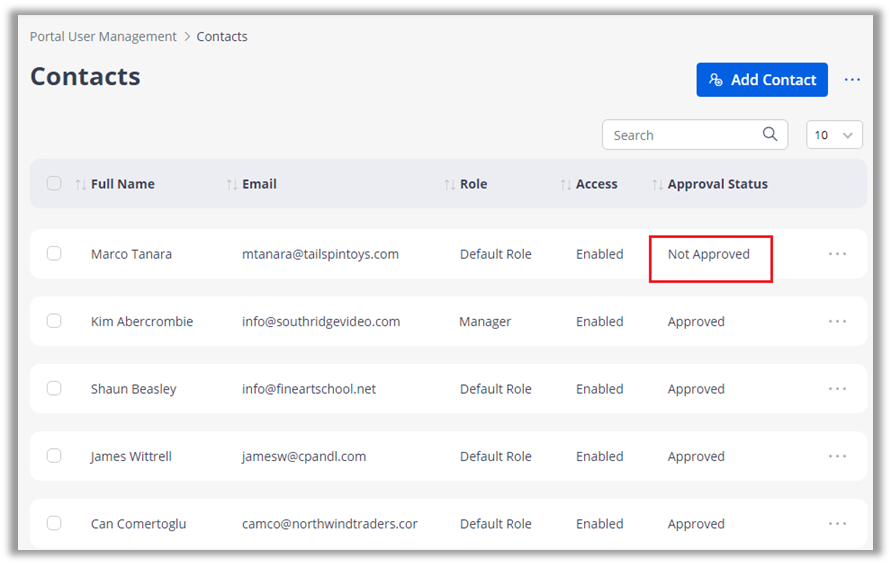
- To approve the “Not Approved” contacts, select the contacts from the contacts list view and click on the “Approve Users” option.
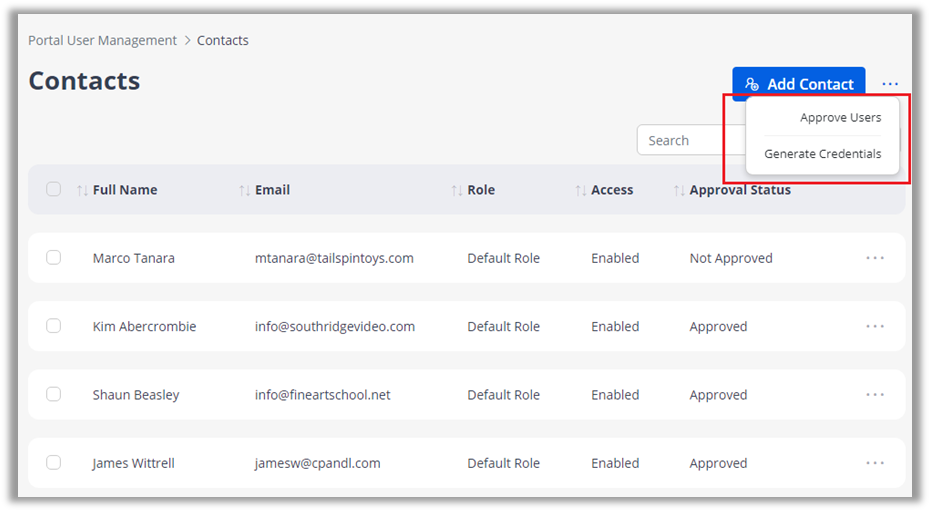
Note: Only those admin users can approve the users that they have the access to do so.
Generate Credentials
- To generate the credentials for a newly added contact, click on the “Generate Credentials” option. The newly added contacts will get the portal credential mail to access the portal and set a password.
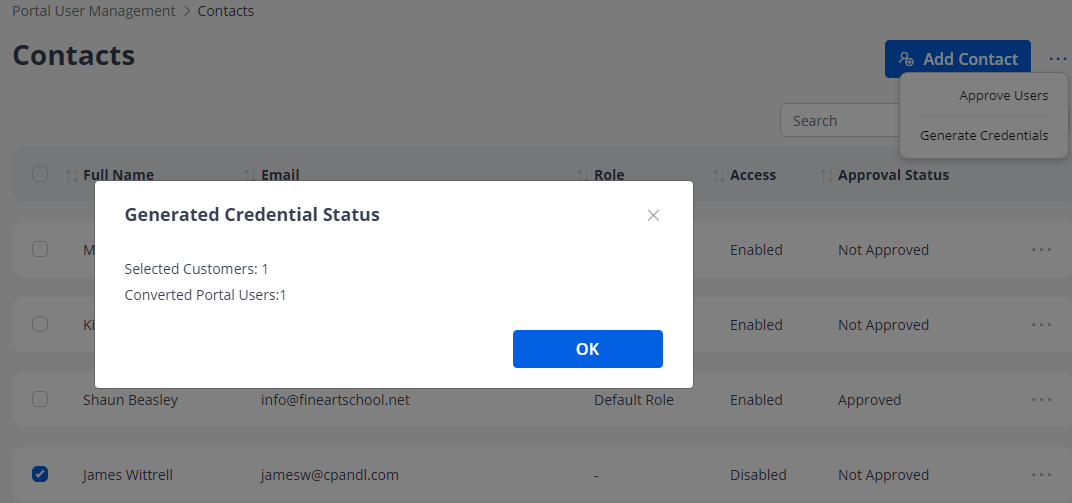
- You can select the multiple contacts here and generate the credentials for them.
Note: Only those admin users can generate the credentials that have the access.


