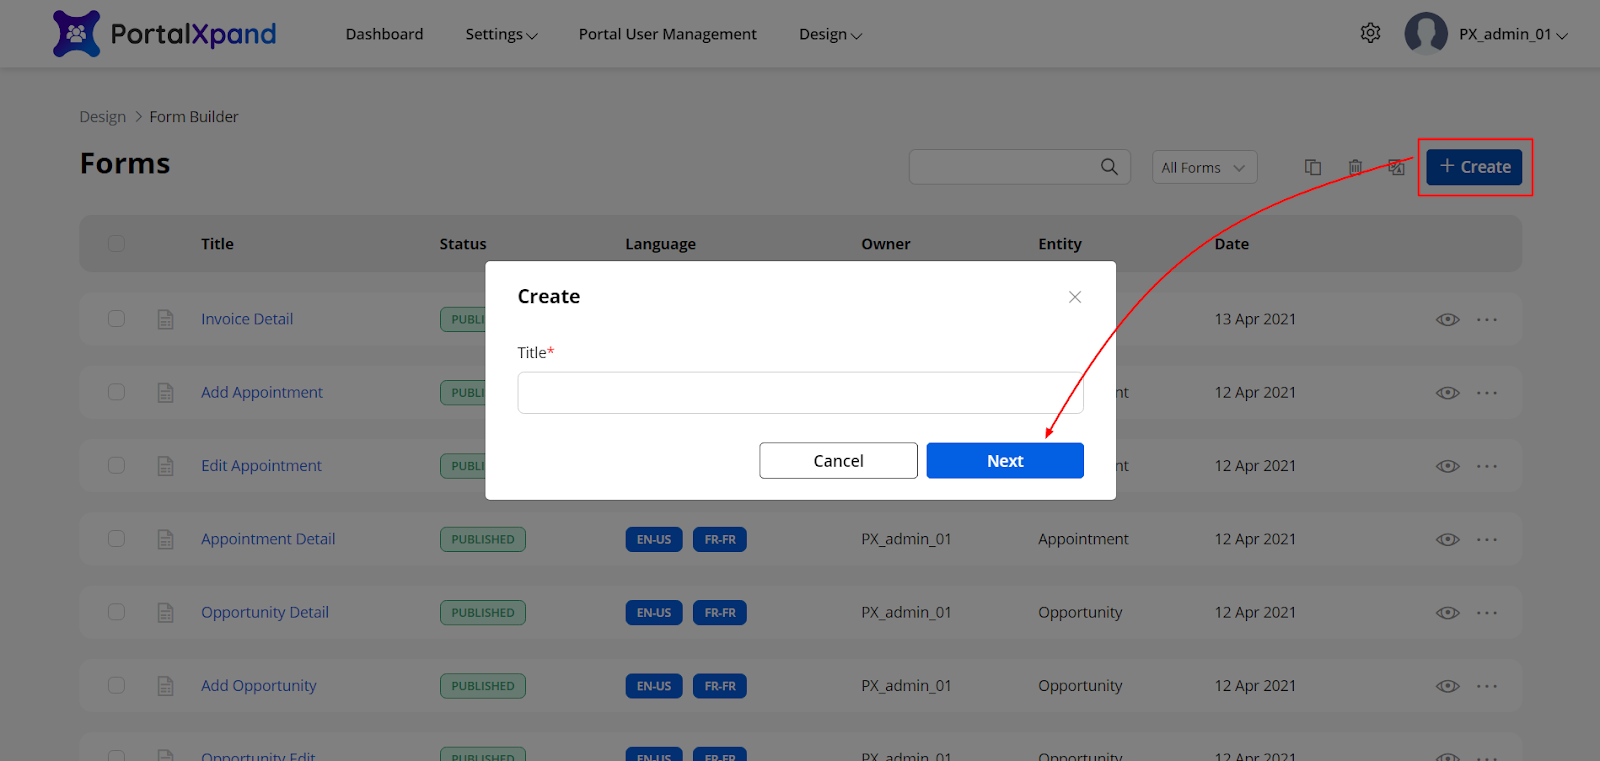
To create the form for any other entity, navigate to the Design ➤ Form Builder, you will land on the “Forms” page. Now click on the “+ Create”, a popup will appear where you can insert the “Title” of the form. Click on the “Next” button to design the layout.

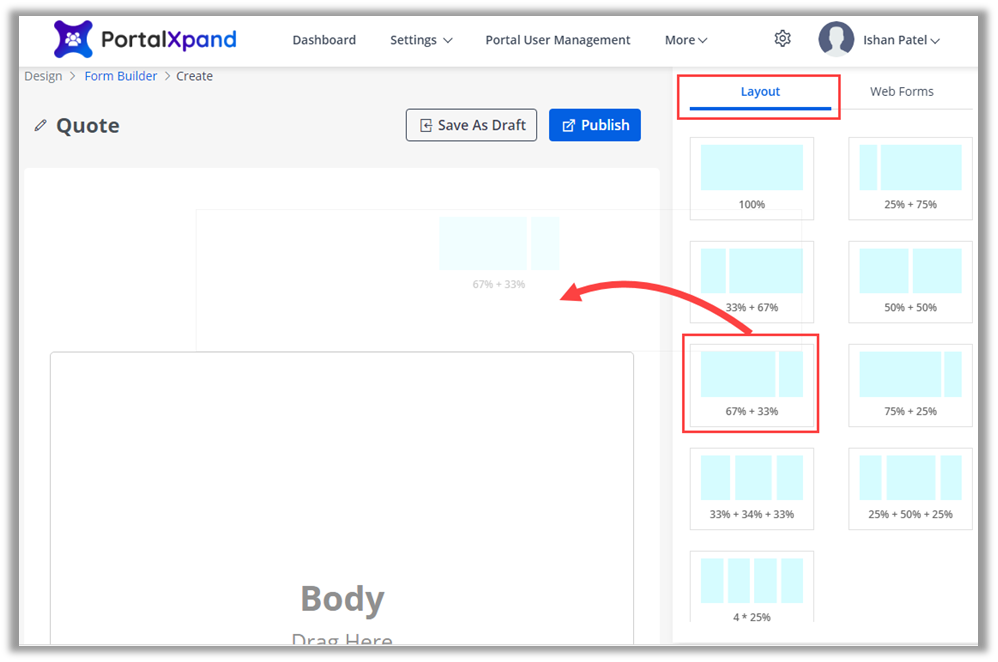
Under the “Layout” tab, the different layouts are offered to manage the fields in that and display the portal content as you want to display. You just simply need to drag & drop the fields into the form grid.

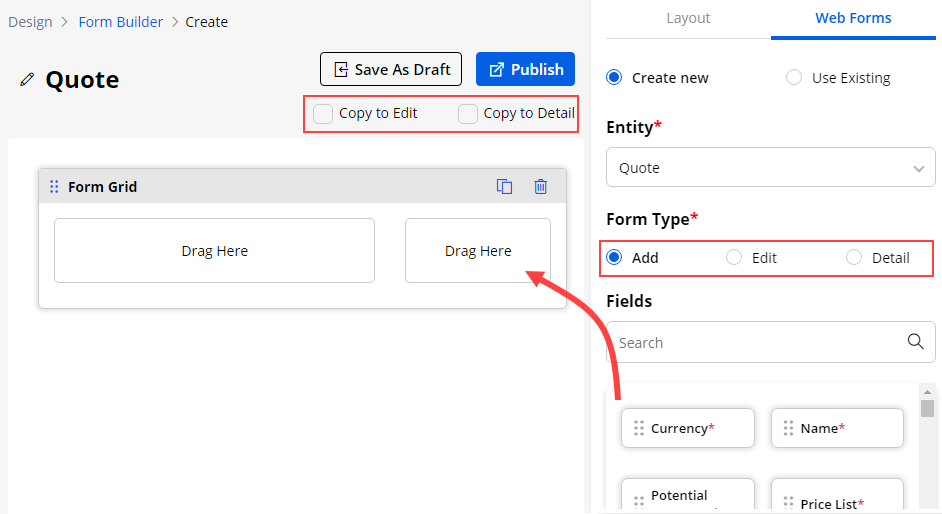
Under the “Web Forms” tab, by selecting the entity, you can design the layout for Add, Edit, & Detail pages individually for the new pages.

Here, there are two Copy options provided: Copy to Edit & Copy to Detail. You can copy the ‘Add’ form design for the ‘Edit’ form and ‘Detail’ form as well.
By selecting these options, you can copy the ‘Add’ form for the ‘Edit’ & ‘Details’ forms that will create the same design for the form layout and same Fields.
Notes Access
If you are selecting the “Detail” form, you will get the Notes Access option to provide the notes access for the customer portal users and allow the portal users to add any Notes for further communications.
Once you have added the fields and designed the layout, you can “Publish” the form or keep it as a draft.


