A good customer portal has the potential to represent the business or organization accurately. Admin users can create the page banner as per the organization’s theme to display on the customer portal using the Banner widget.
Login to Backend
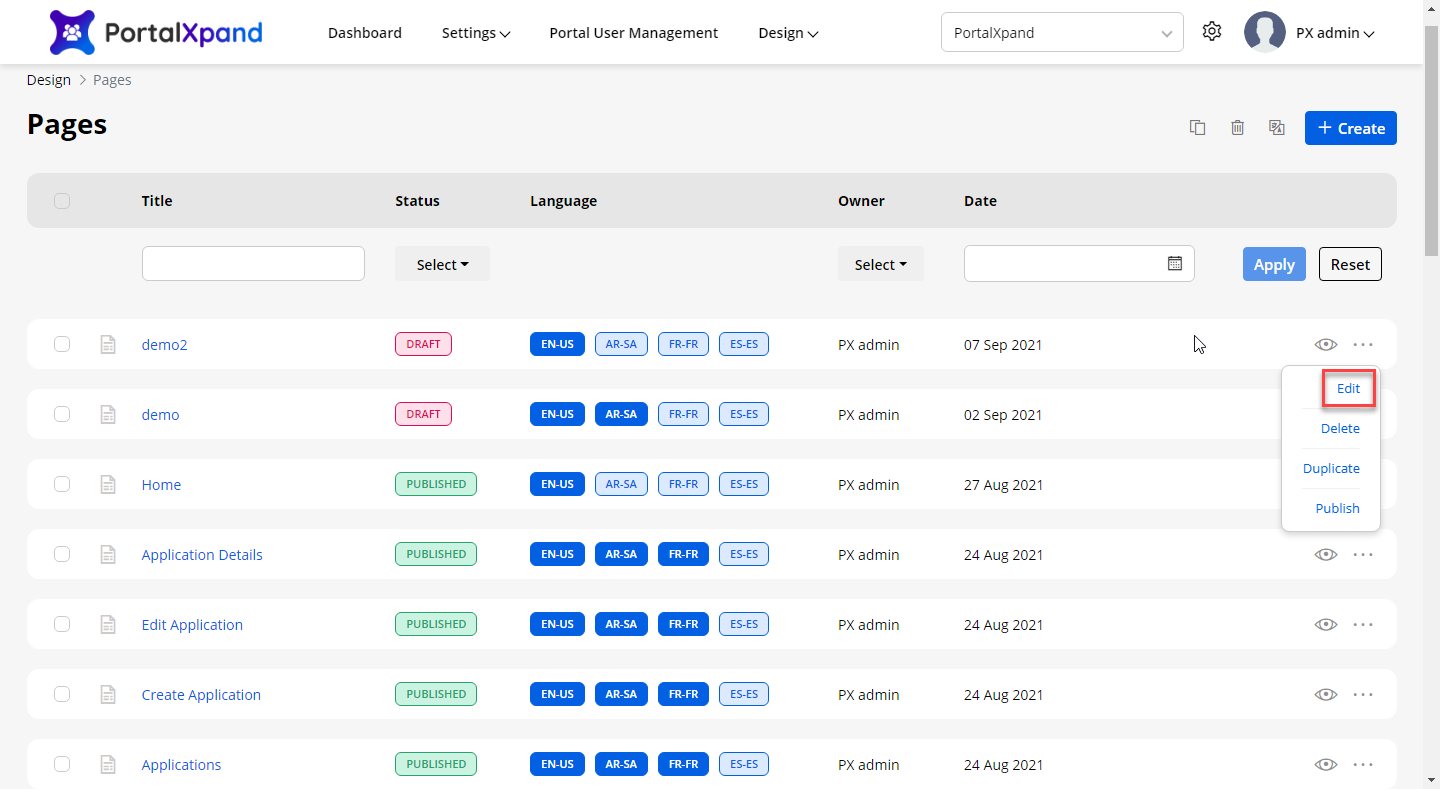
Navigate to the Design ➤ Pages, you will get the list of Pages. Now open the new page and add a banner widget or add the widget into an existing page by clicking the Edit option.
Drag and drop the Banner widget to the page layout section and configure the details of the banner widget.

Now click on the Edit icon, you can configure the details of the banner widget.
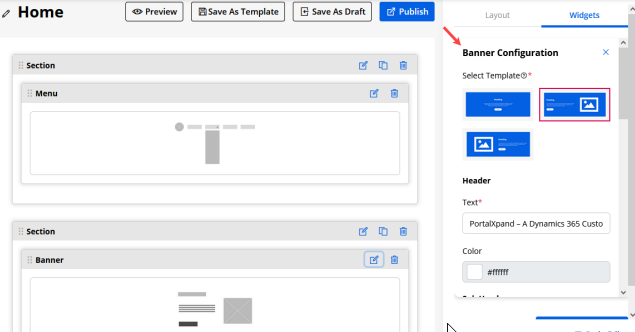
You need to configure the following settings as per the selection of Template:
Select Template: There are three different templates provided:
- Only Content
- Content (left) & Image (right)
- Image (left) & Content (right)
You can choose the template to display on the customer portal. It will be displayed as the home page when the portal users access the customer portal.
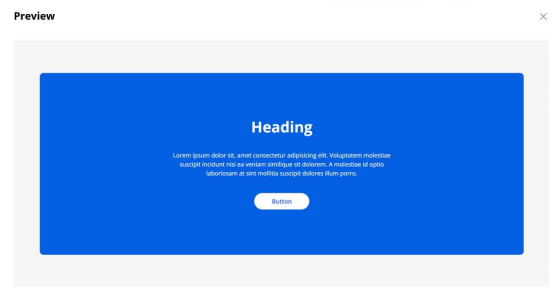
- By clicking on any template, the template is selected, and you will get the preview.
Only Content
Content (Left) & Image (Right)
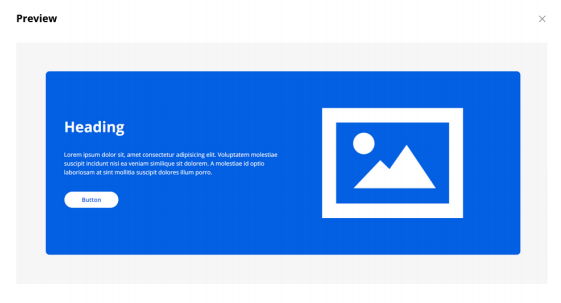
Image (Left) & Content (Right)

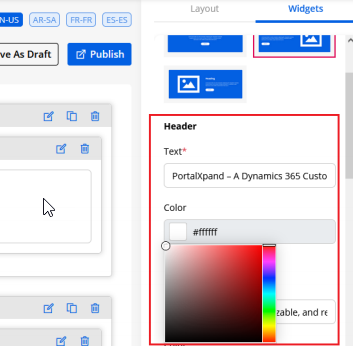
Banner’s Header
Text: Insert the text label to be displayed as header.
Color: Choose the color for the header text. A custom color picker is given to choose the color.
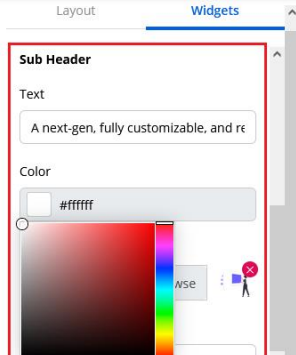
Banner’s Sub Header
Text: Insert the text label to be displayed as a subheader.
Color: Choose the color for the subheader text. A custom color picker is given to choose the color.
Upload Image: You will get this option if you have chosen the template that contains the Image (Template 2&3). Choose the image file to be displayed on the banner that will display on the customer portal. The image size should not be more than 1MB and allow file types: JPG, JPEG, GIF, BMP, PNG, SVG.
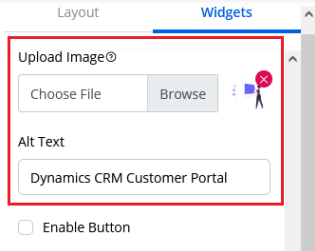
All Text: You can insert the alternative text for an image.
You will get the Upload image option if you have chosen a banner with an image.
If you have uploaded the image and inserted the details for the Alt Text attribute, it will be placed as the Alt and Title attribute. But, if you have not uploaded the image, then the file name will be added to only the Alt attribute. This is only for the images inside the banner.
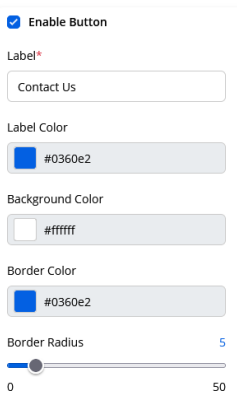
Enable Button: By ticking the checkbox of the Enable Button, you can display the button on the banner for the CTA (Call to Action). If you have enabled the button, you need to configure the following details for the button.
Label: You can insert the text label for the button.
Label Color: Choose the color for the button text. The custom color picker is given to choose the color.
Background Color: Choose the color for the button text. The custom color picker is given to choose the color.
Border Color: Choose the border color for the button.
Border Radius: You can design the button appearance by setting the radius. You will get the slider to set the border’s radius (0-50) of the button.
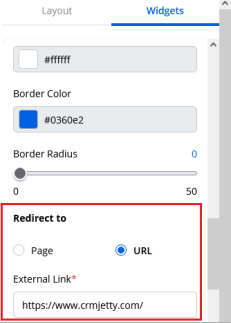
Redirect to: You need to set the redirection on the button’s click event. There are two options provided: Select Page or URL.
- Select Page: You can select the portal page to redirect the portal users when they click on the button.
- URL: You can insert the URL to navigate the portal users to that URL when they click on the button.
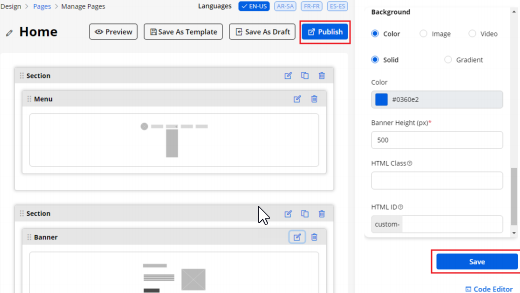
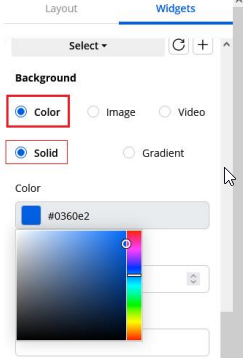
Banner Background: You can set the background of the banner that will be displayed on the customer portal. There are three options given: Color, Image, or Video.
Background Color: If you select the Color to display in the background of the banner, a custom color picker is provided to choose the color.
- Solid: To choose the Color to display in the background of the banner, a custom color picker is provided.
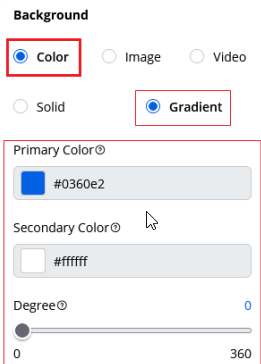
Gradient: You need to choose Primary Color and Secondary Color to display in the background of the banner. A custom color picker is provided to choose the color for both.
- Degree: You can set the degree (0 to 360) of the gradient color of the banner’s background.
Image for Background: If you select the Image to set as a background, you need to upload the image.

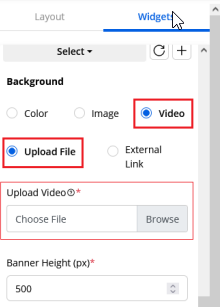
Video for Background: If you select the Video to set a background, you will get two more options to set the background of the banner. You can either Upload a File or insert the External Link.
Upload (Local Video): You can select and upload the local file from your system to set the banner’s background. (left image)
Note: You can upload the local video maximum of 2MB size. The video’s size must not be more than 2 MB. The supported video files are MP4, M4V, MPG, WMV, MOV.
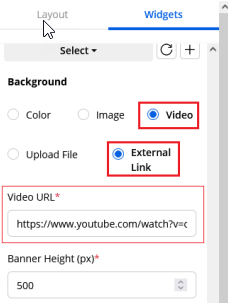
External Link: You need to insert the video’s URL in the Video URL box to set the banner’s background. (right image)
Banner Height: Insert the height of the banner that will be displayed on the customer portal.
After configuring the Banner widget, click on the Save button to save the configuration and publish the page to apply the changes.